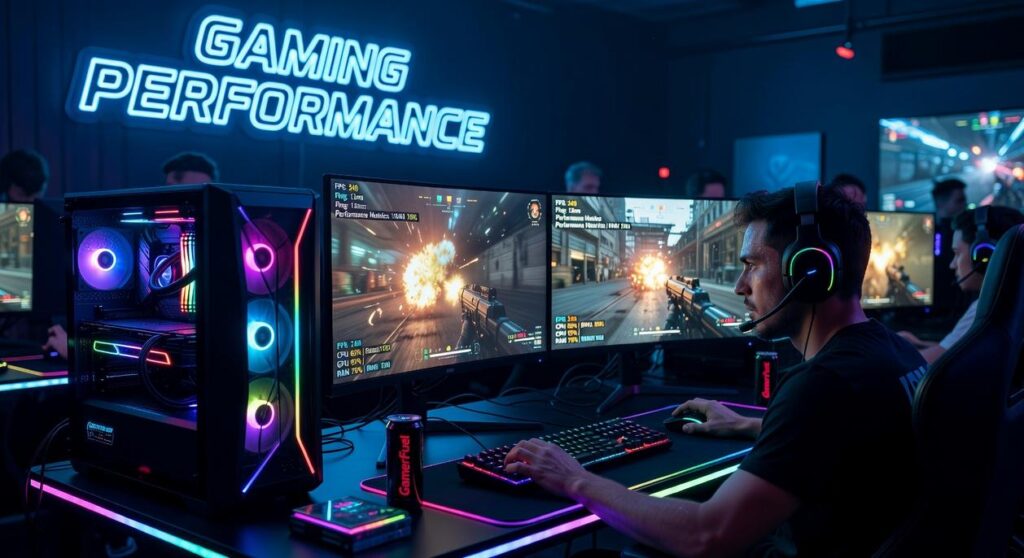
Some map locations aren’t just ground, they’re game-changers. You know the ones I’m talking about. rua 69 braganca is one of these critical epicenters. It’s a name that can mean victory or defeat in high-stakes matches.
This article is here to deconstruct the strategic value of this area. We’ll provide actionable tactics for domination. By the end, you’ll have a pro-level understanding of map control, offensive plays, and defensive holds centered on this key point.
You won’t just be reacting to enemy plays anymore. You’ll be dictating the flow of the entire match. Let’s dive in.
The Strategic Blueprint: Choke Points, Sightlines, and Control Zones
When it comes to rua 69 braganca, understanding the layout is key. Choke points are where the action gets intense. There are two main ones here: the narrow alleyway between buildings and the entrance to the central courtyard.
These spots force players into close quarters, making them perfect for ambushes and firefights.
Why are they vital? They control the flow of movement. If you hold these, you can dictate where the enemy goes.
Sightlines are just as important. For attackers, the rooftop across from the main street offers a clear view of the courtyard. Defenders, on the other hand, can use the windows in the second building to cover the alleyway.
Snipers often perch on the high ground, while others prefer the more concealed angles inside the buildings.
Sub-zones within the area are like mini-battlefields. Controlling them one by one is crucial. Start with the outer perimeter, then move inward.
This sequential approach minimizes exposure and maximizes your team’s chances of success.
The layout of rua 69 braganca influences everything. Objectives are often placed in the center, making the choke points even more critical. Spawn rotations and flanking routes are limited, so timing and coordination are key.
Visualize a typical engagement. Teams clash at the alley, pushing and pulling for control. Meanwhile, snipers pick off stragglers from the rooftops.
The team that controls the sub-zones and choke points will have the upper hand.
Understanding these elements gives you a tactical edge. You’ll be able to predict enemy movements, set up better defenses, and execute more effective attacks.
Offensive Masterclass: How to Breach and Secure the Area
Alright, let’s dive into the nitty-gritty of a coordinated offensive push. First things first: information gathering. You need to know where the defenders are hiding.
Use your recon drones, peek corners, and listen for footsteps.
Gather intel like you’re Sherlock Holmes, but with less of the deerstalker hat and more of the tactical gear.
Shock and Awe Rush Tactic
This is all about speed and surprise. You’ll need a team with high mobility and quick reflexes. Think characters who can sprint, jump, or just plain wreak havoc.
Your ideal team composition? Fast attackers and a couple of heavy hitters. You want to overwhelm the defenders before they even realize what hit them.
Imagine a horde of angry bees, but instead of stingers, they have guns. Yeah, it’s that kind of chaos.
Siege Approach
If you prefer a more methodical approach, the Siege tactic is your go-to. This involves setting up a slow, steady advance, using utility to chip away at the defenders’ defenses.
You’ll need a balanced team here: some for breaching, some for holding ground, and a few for support. Think of it as a well-orchestrated dance, but with more explosions.
It’s like playing chess, but with more gunfire and less patience.
Audio Cues and Misdirection
One of the best ways to get the upper hand is by using audio cues and misdirection. Drop a flashbang in one area, then move in from another. Or, better yet, have a teammate make noise on one side while you sneak in from the other.
It’s like telling a ghost story, but the ghost is actually you, and the story ends with a lot of gunfire.
Equipment Mini-Guide
- Smoke Grenades: Use these to obscure vision and create safe paths. Perfect for moving undetected.
- Flashbangs: Blind the enemy temporarily. Throw one, then charge in.
- Recon Drones: These little guys are your eyes and ears. Send them out to scout and mark enemy positions.
Think of these as your Swiss Army Knife, but without the actual knife part. (We don’t want any accidents, do we?)
Post-Breach Positioning
Once you’ve breached, don’t just stand there like a target. Move to cover, set up defensive positions, and prepare for the inevitable counter-attack.
Remember, the goal isn’t just to breach; it’s to hold the area. So, find a good spot, maybe near rua 69 braganca, and hunker down.
By following these steps, you’ll be well on your way to mastering the art of the offensive push. Just remember, practice makes perfect, and a little bit of creativity goes a long way.
The Unbreakable Defense: Locking Down Bragança Street 69
A good defense is proactive, not reactive. You need to be ready before the enemy even thinks about moving.
The Triangle Defense Setup
The ‘Triangle Defense’ setup is a solid strategy. Position three players in key spots to create inescapable crossfires. This formation can cover multiple angles and choke points, making it hard for the enemy to push through.
- Player 1: Near the main entrance.
- Player 2: Overlooking the side alley.
- Player 3: In a high vantage point, like a rooftop or balcony.
Using Traps and Deployables
Traps, deployable cover, and area-denial abilities are your best friends. Place traps in predictable paths to slow down enemy pushes. Deployable cover can block lines of sight and funnel enemies into kill zones.
Area-denial abilities, like smoke or spike traps, can further disrupt their movement.
Information Denial
Information is power. Use specific abilities to block enemy intel and create uncertainty. Smoke grenades, flashbangs, and EMPs can blind and confuse the enemy, making it harder for them to coordinate their attacks.
This gives you the upper hand.
Recognizing Offensive Pushes
Recognize the type of offensive push the enemy is attempting. Is it a full-on assault, a flanking move, or a distraction? Adapt your defense accordingly.
For example, if they’re trying to flank, shift one player to cover that angle while the others maintain the main defensive line.
Quick and Effective Retake
If the initial defensive line is broken, don’t panic. Have a plan for a quick and effective retake. Communicate with your team and use your abilities to clear the area.
A well-coordinated push can often turn the tables and regain control.
Remember, the key to a strong defense is flexibility and adaptability. Stay on your toes and be ready to adjust as the situation changes. And always keep an eye on the bigger picture.
Understanding the macro vs micro play can help you make better decisions in the heat of the moment.
From Theory to Practice: Drills to Sharpen Your Skills
Let’s get real. You can read all the tactics in the world, but if you don’t practice, it’s just theory.
First up, utility placement. Find a quiet spot and set up some targets. Practice throwing your utilities without the pressure of a live enemy.
This builds muscle memory and precision.
Next, rotations and positioning. Set up a custom game or private lobby. Run through different scenarios—offensive and defensive.
Focus on how you move and position yourself.
Use rua 69 braganca as a key area to practice. It’s a common choke point, so mastering it will give you an edge.
Review your gameplay footage (VODs). Pay attention to your performance around Bragança Street 69. See where you can improve and what you’re doing right.
Custom games are your best friend here. They let you walk through strategies at your own pace. Build that muscle memory and make those moves second nature.
Your New Stronghold: Turning Knowledge into Wins
rua 69 braganca‘s complexity is what makes it a learnable and rewarding challenge. Success in this area comes from deliberate strategy, not random chance.
You’ve learned about the map layout, offensive pushes, defensive holds, and practical drills. These are your tools to dominate.
Apply one specific tactic from the guide in your very next game and observe the difference it makes. Go forth and turn your knowledge into wins.
 A key contributor to the foundation of Zard Gadgets, Ronaldo Floresierna played a vital role in shaping the platform's technical and strategic edge. His expertise in eSports dynamics and gadget-driven enhancements helped bridge the gap between high-level gear and practical player performance. By focusing on professional-grade tutorials and hardware reliability, Floresierna ensured the project became a trusted resource for gamers seeking to optimize their competitive mastery.